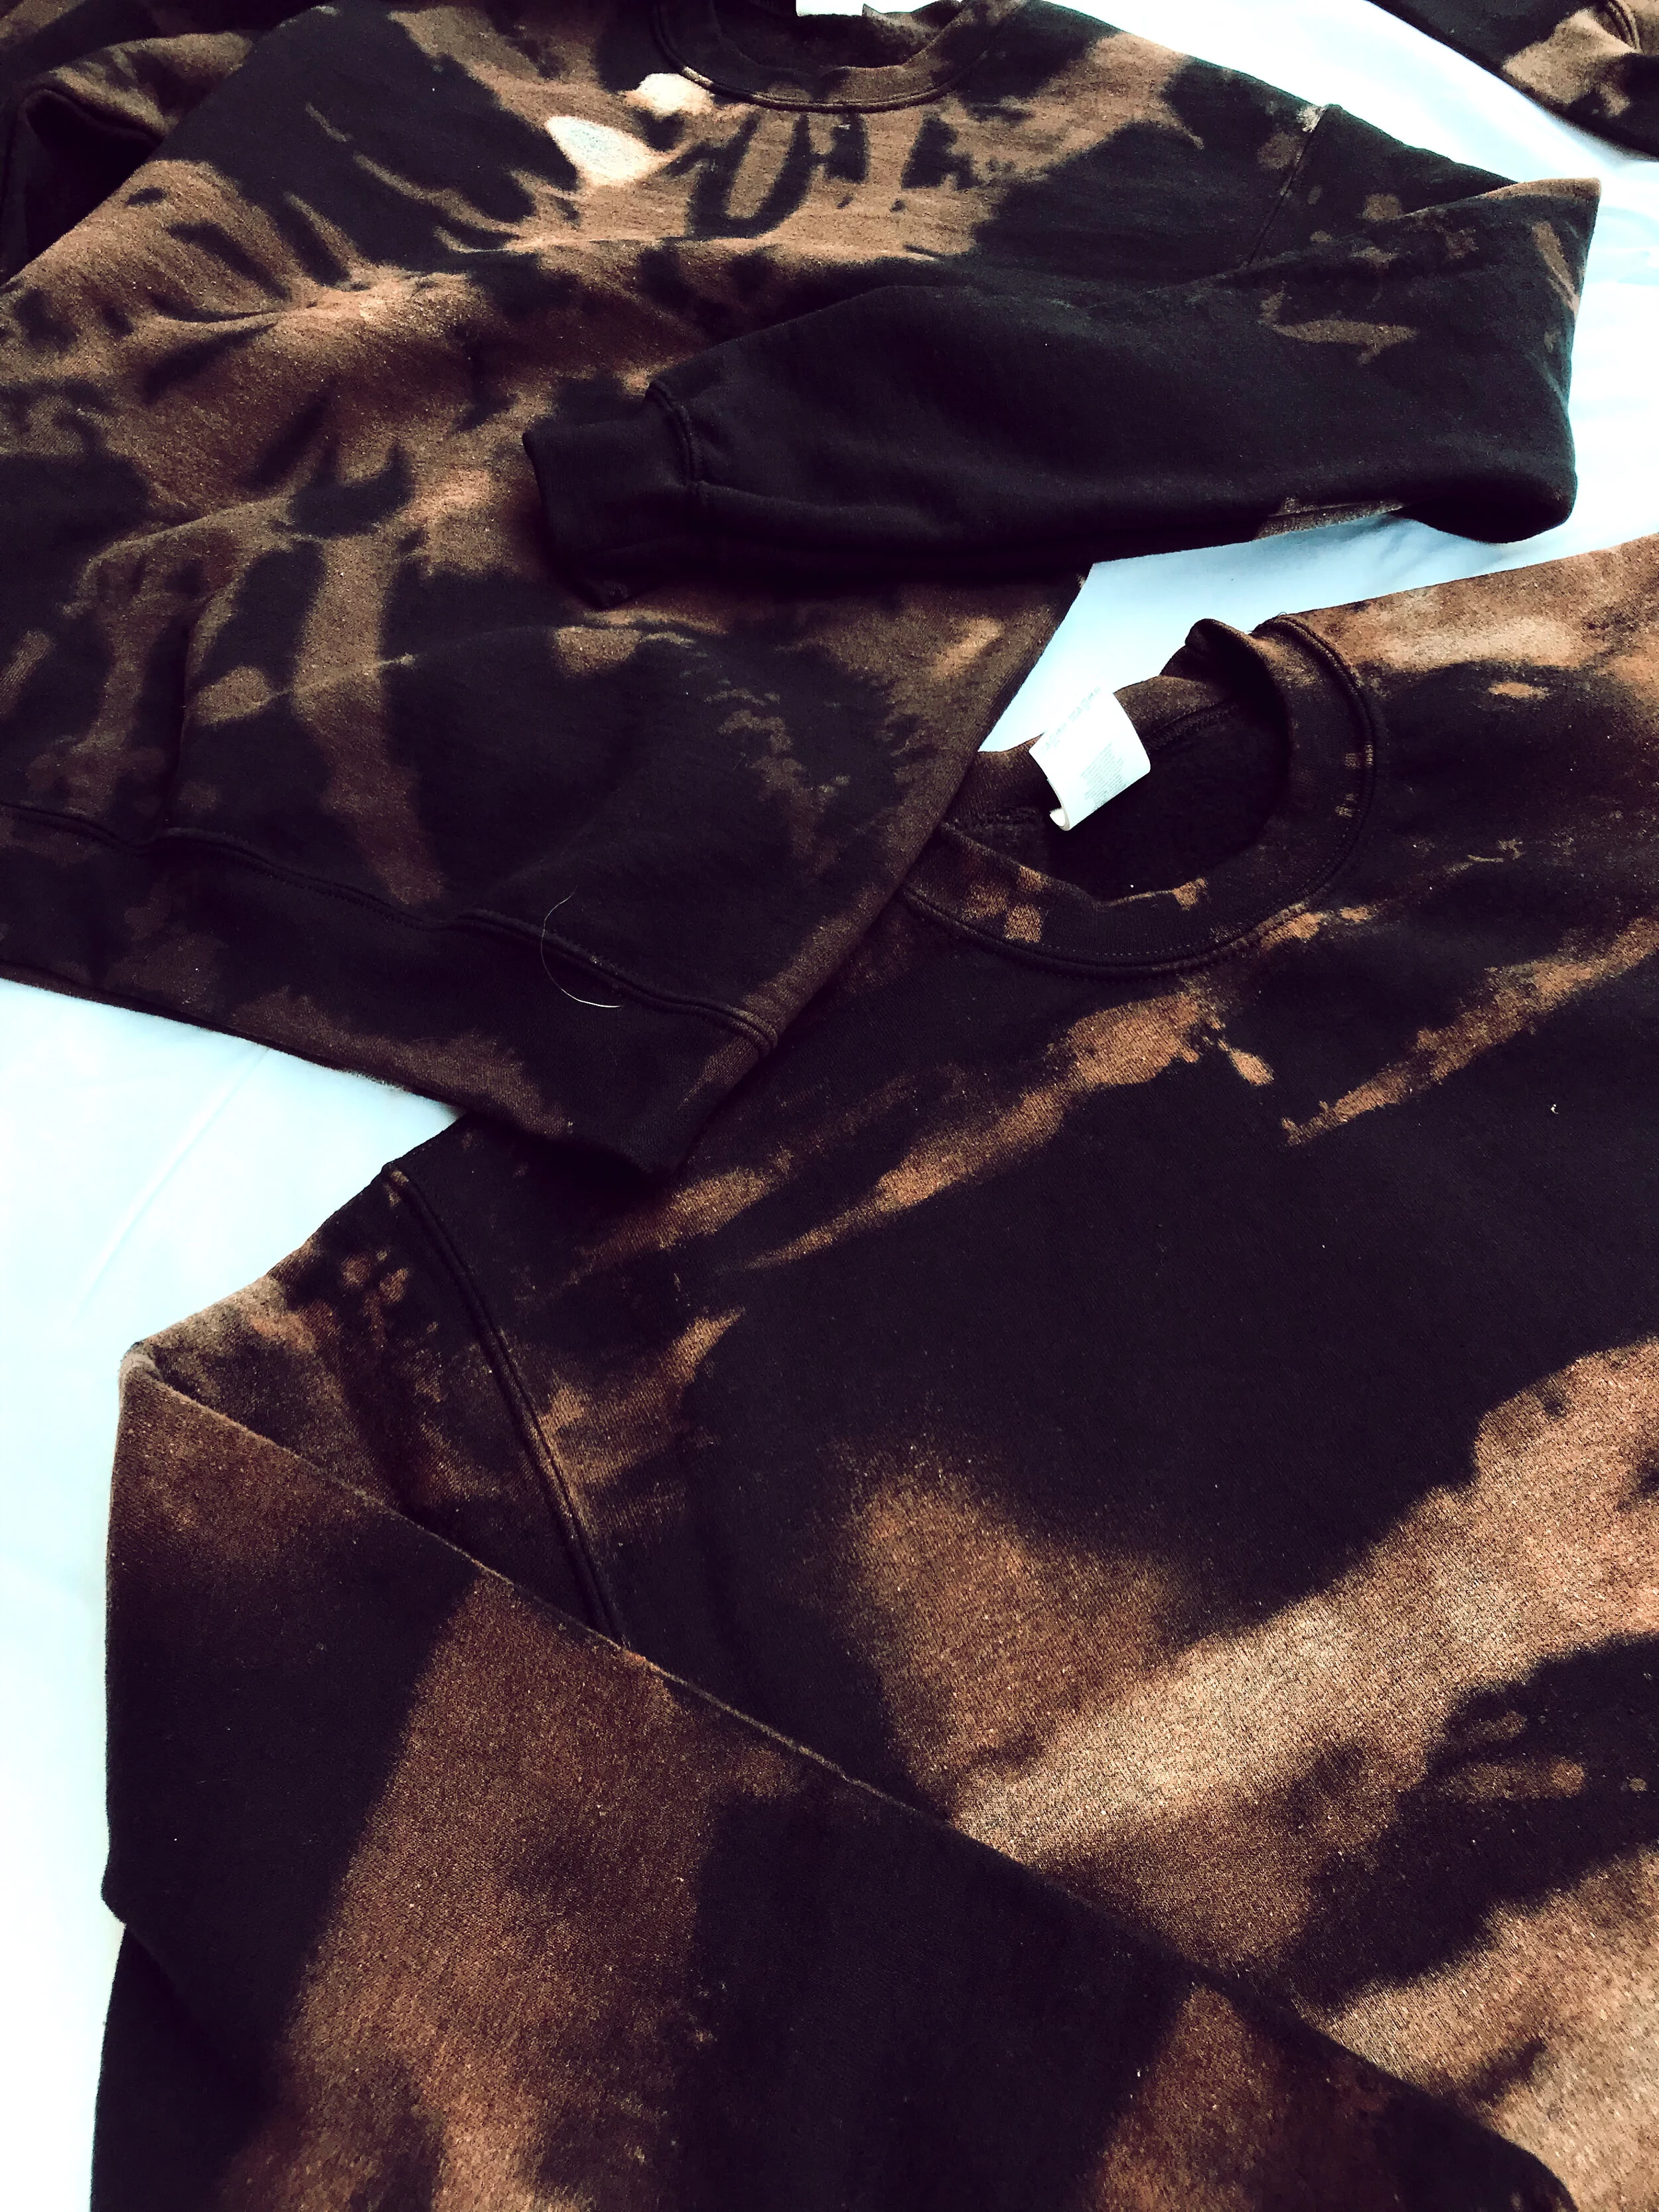
How To Create Your Own Bleached Sweatshirt
It’s Monday, which means it’s a new week to crush your dreams and that to-do list! Or maybe you are looking for something new and fun to do to keep busy during these times! Don’t worry we’ve got your covered!
We just launched our new Love You Mean It sweatshirt which is the perfect sweatshirt to wear with your little. As we like to call it the ultimate mommy and me piece.
What is fun about this one is not only is it something that you and your little one can match in but that each of them is hand bleached by us for you and we thought it would be fun to share that process with you!
Here are the things you'll need to get started
Old sweatshirt of any color -avoid lighter washed items
Spray Bottle
Rubber Bands
Water
Bleach
Now that you’ve got all your stuff together you are ready to start the bleaching process! Woo hoo!
Step 1: Get the whole sweatshirt wet with warm to room temperature water. Be sure to ring it out so it isn’t dripping.
Step 2: Layout your sweatshirt flat, pinch the sweatshirt in the middle with your fingers and twist until all of the fabric as wrapped around in a circle like figure.
Step 3: Use your rubber bands to secure your circle in place. This allows everything to keep its shape without moving when you are bleaching.
Step 4: Grab your spray bottle and combine equal parts of water and bleach
Step 5: Spray your sweatshirt with the bleach/water solution. The more you spray and the closer you spray to the garment the more the bleach solution will take on.
Step 6: Repeat step 5 on the other side of your sweatshirt.
Step 7: Let the sweatshirt sit for about 20 minutes, this will allow it to fully develop.
Step 8: Take off rubber bands and throw your sweatshirt into the wash by itself. Rinse with cold water and then wash and dry.
And there you have it! You have created your very own bleached sweatshirt! If you have any questions feel free to direct message us on Instagram or send us an email at info@thevinylstudio.com!
xx
TVS


